How to Make a Pattern in Illustrator (11 Helpful Steps)
Special graduate tutorial today on the blog. Master pattern-maker and part-time Shillington New York graduate Courtney Capone shares her step-by-step process to create illustrated patterns in Illustrator. Courtney’s a pattern-making machine who you might remember from July Free Wallpaper Download. We’re pumped to share her expertise.
Follow along and create your own pattern masterpiece!
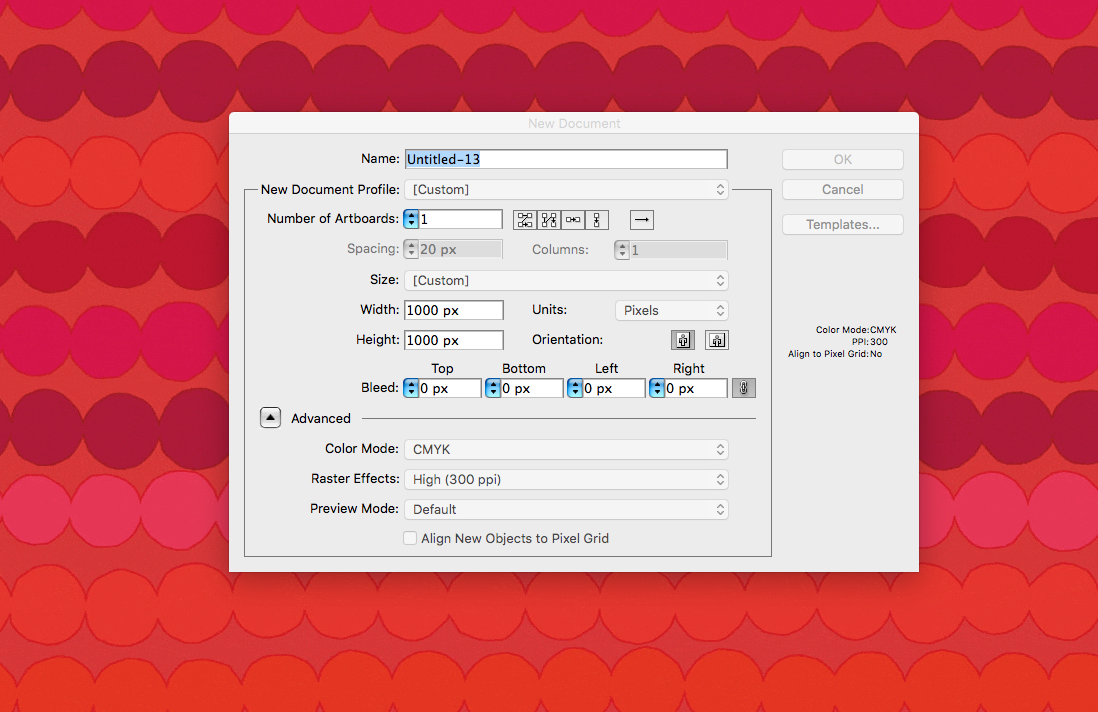
1. Set up your file.
Disclaimer: I work in illustrator only for patterns, there are definitely methods for making them in photoshop which is probably the best option if you are using hand painted/water-colored designs where you want to maintain that look.
To start, I’m not really worried much about CMYK vs. RGB as I’m not printing this design. Do make sure that your color settings are correct when you’re doing this for real, if you make the design in CMYK and then try to export for web your colors are probably going to look really funky. Set your artboard size up to 1000px x 1000px. Go into your layers palette and name the layer you’re working on “Original Art”.
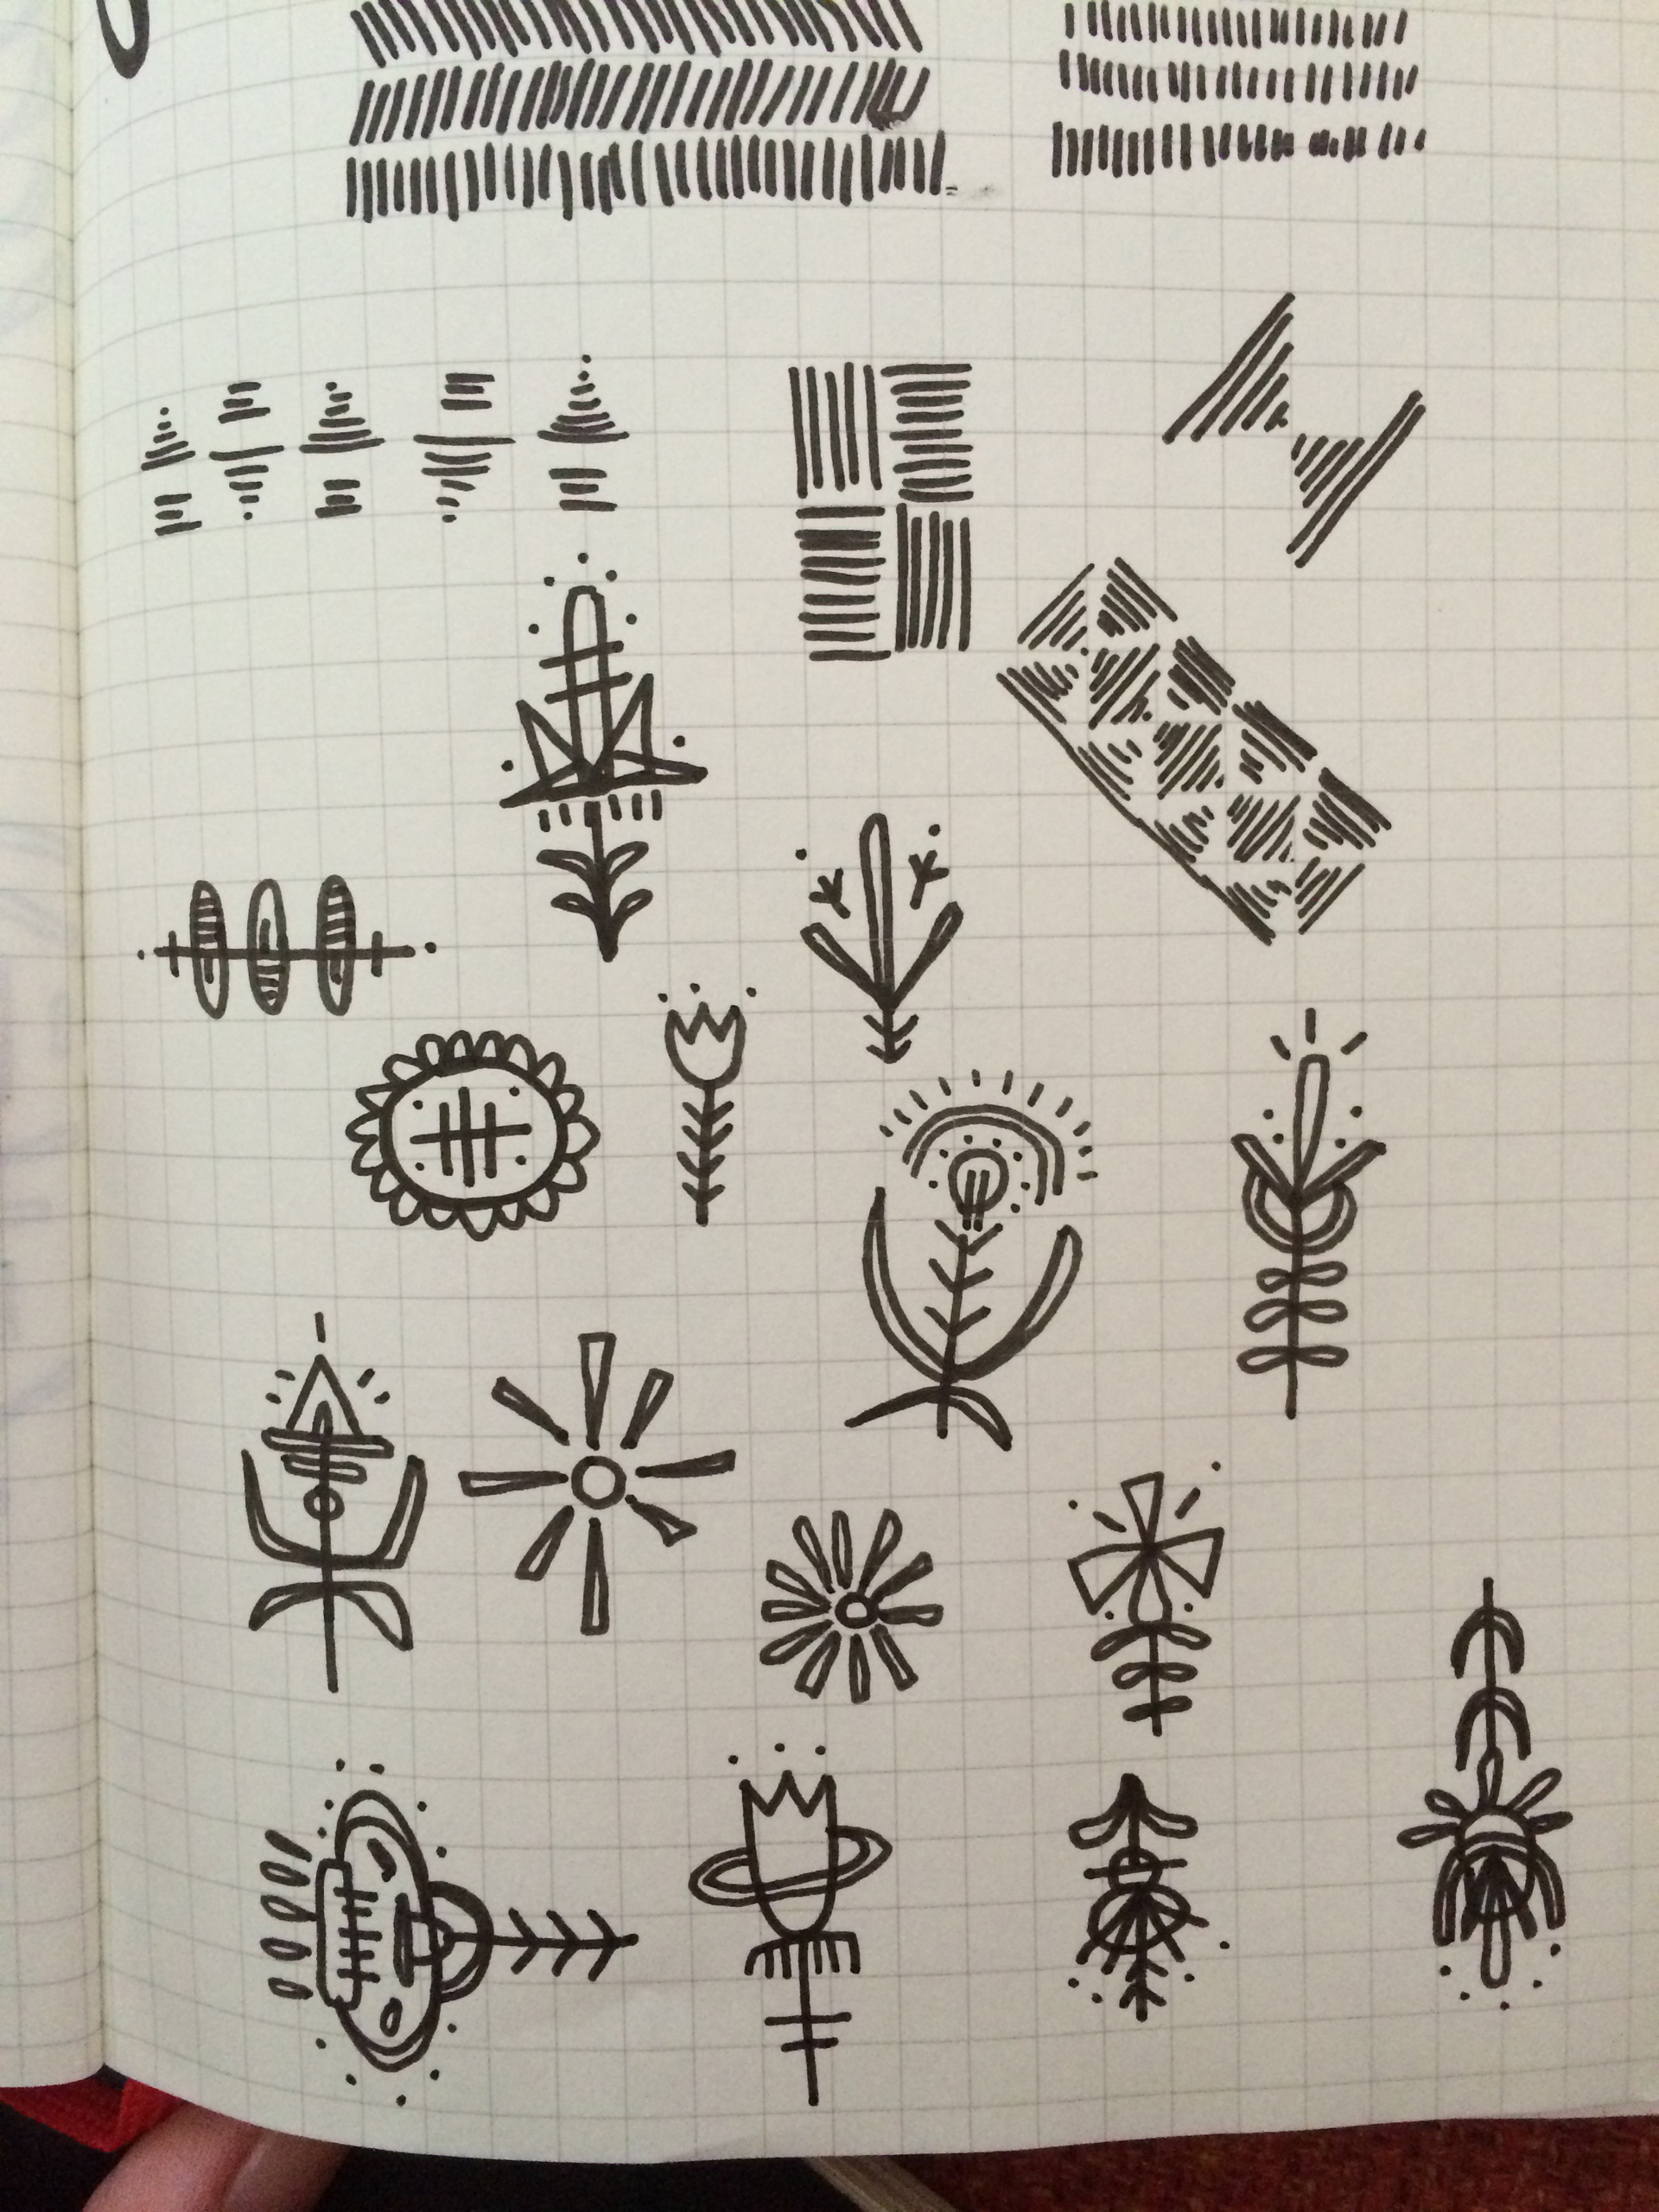
2. Every one of my designs starts with a doodle!
Depending on the style I’m after, I either scan it in and trace over it with the pen and brush tools in illustrator, or I scan it in and use live trace to maintain as much of the original shape as possible. However you prefer to work is fine, you just need to get your art vectorized!
3. Get out that pen tool.
This is what the art looks like after I’ve gone over it with the pen tool. You’ll see that I have made some very small changes to some of the pieces to get them exactly how I want them. Because I used the pen tool, all of these pieces are made out of strokes. Because I was going for an outlined/drawn look I left them as-is, but now is a good time to play around and change parts of your art to solid shapes, etc. Make sure that you are happy with how everything is looking before moving onto the next step!
4. Outline the strokes!
The next step, since these are all made up of strokes, is to outline the stroke on all pieces so that they turn into shapes. This makes the art easier to work with, as strokes will change weight when you make them larger or smaller. You can do this by selecting the whole group, going to Object>Path>Outline Stroke. For this design, everything is outlines so I wanted to maintain the stroke weight throughout.
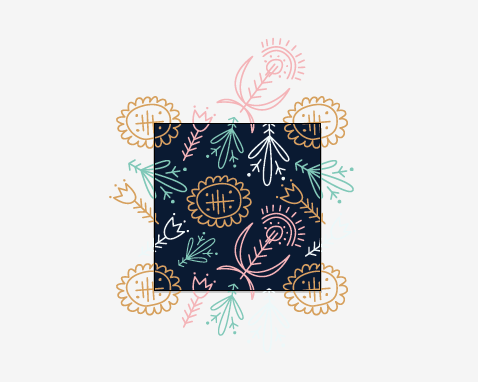
5. Now we arrange.
I feel like there are really no rules about how to begin this process, just move your art around until you get it to a place where you are liking the way it looks together. It’s best to stick to the middle of the artboard during this process but it’s ok if you overlap onto the edge. You are probably going to have to go back and adjust a bunch of times to get everything looking just right.
6. Match up your edges.
The number one thing to remember about repeat patterns is that whatever you do on the edges needs to be replicated exactly on the opposite side. For example, if you have a motif that overlaps the top edge, it needs to be in the same position on the bottom. This sounds confusing but its actually pretty easy! Once you have a piece of art that overlaps an edge of your board, select it and copy and paste directly on top. The shortcut for that is CMD+SHIFT+V. Your copy will be directly on top of the original and selected already, so all you need to do is open your Transform window and find your X and Y value fields. If the art is transferring vertically, we use Y, horziontally, we use X. Click in the field you need, go to the end of the number that is there and type “+ 1000”. This should move your art over to the opposite side of the board where it will be exactly opposite it’s original. Make sure you remember to do this whenever any of your art overlaps any edge of your board.
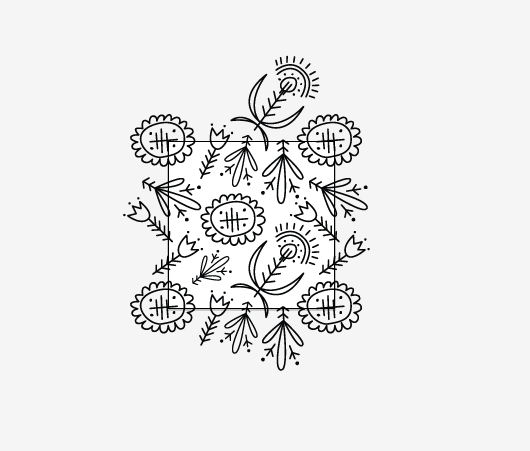
7. Test and repeat.
Once you have an arrangement you are happy with, it’s very easy to test whether this repeat is successful. All you need to do is make a 1000×1000 px box, paste it directly on top of your art board and make a clipping mask by selecting everything and pressing CMD+7. This will give you a sneak peek on what your pattern swatch will look like, and you can copy and paste it directly next to the first box and below it to see how the repeat is behaving. Here is where you will notice if you didn’t match your edges correctly and also you’ll be able to see where you need to make tweaks to your design to ensure a smoother repeat. Make sure you delete all of your copies and release your clipping mask before you try to make edits to your original design.
8. Now is the time for color!
You can really introduce color whenever you want, but I prefer to wait until all of my elements are interacting how i want them to because I find that color can be distracting. I keep a folder on pinterest of different color palettes I like, and simply drag them onto my desktop and use my eye dropper tool to grab them and add them to my swatches palette. This is a fun part of the process so have fun with it! Just play around until you find a combo that you love.
9. Make a real, usable repeat swatch.
Once you are all colorized and everything is looking good, it’s time to make this a real, usable repeat swatch! First, make a copy of your Original Art layer and label the new one “Merged”. Hide your original art layer, you will want to be able to access that later and once merge we lose the ability to use our original art.
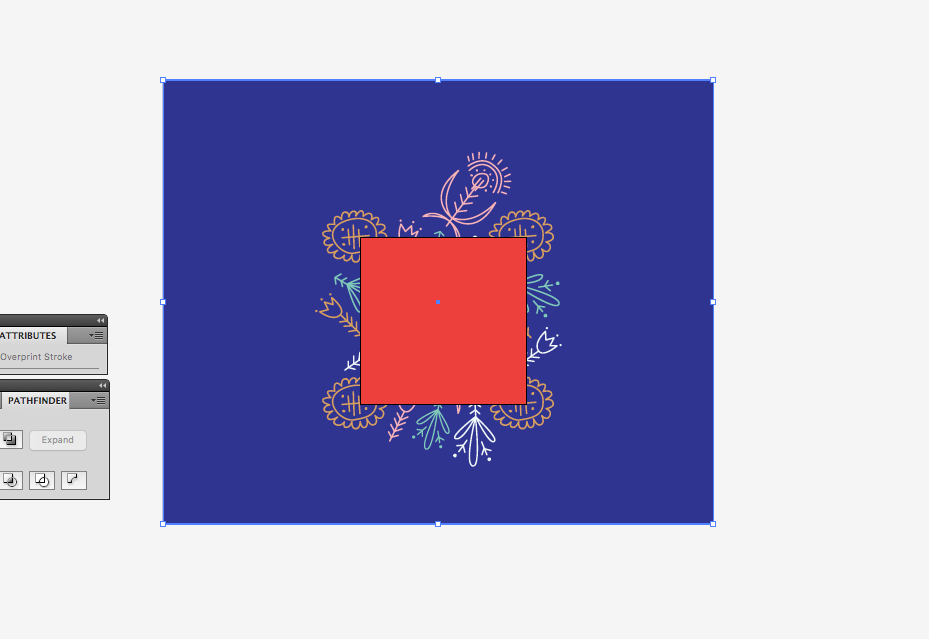
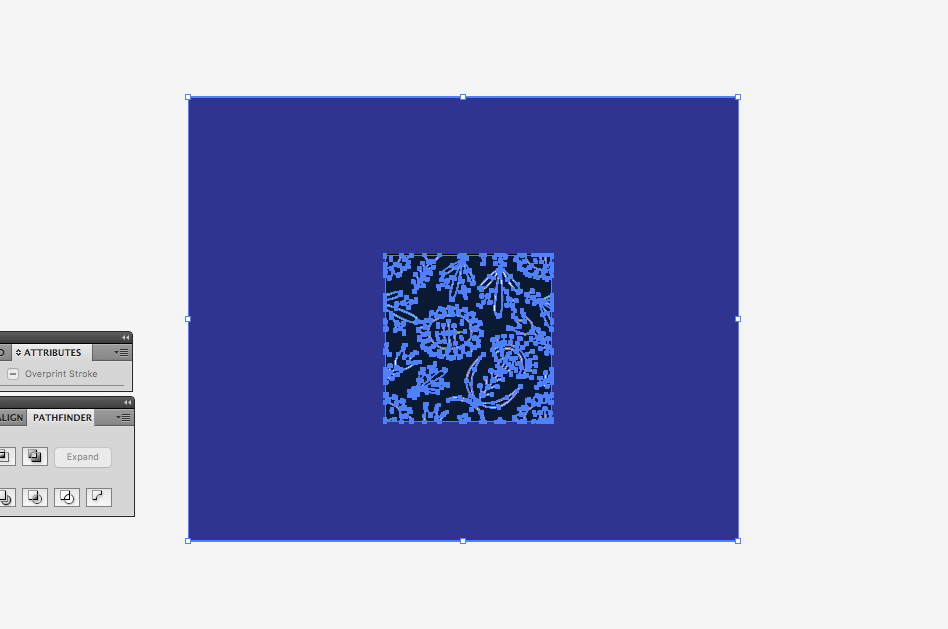
10. Create the swatch.
Working on your Merged layer, make a 1000x1000px square and paste directly on top like we did for the clipping mask. This time, make another larger square that covers all of your art, and put that behind everything. So it should be giant square/your art/smaller square. Select both of the squares (NOT your art) and go to your Pathfinder window, and click “minus front” This will make it look like there is a frame around your art. Now select everything, including your art and the frame, and go back to your Pathfinder window and click “Merge”. You’ll see that all of your art will now just be in that one square. Double click on the frame to isolate and remove it. You should be left with a cute little swatch of your pattern!
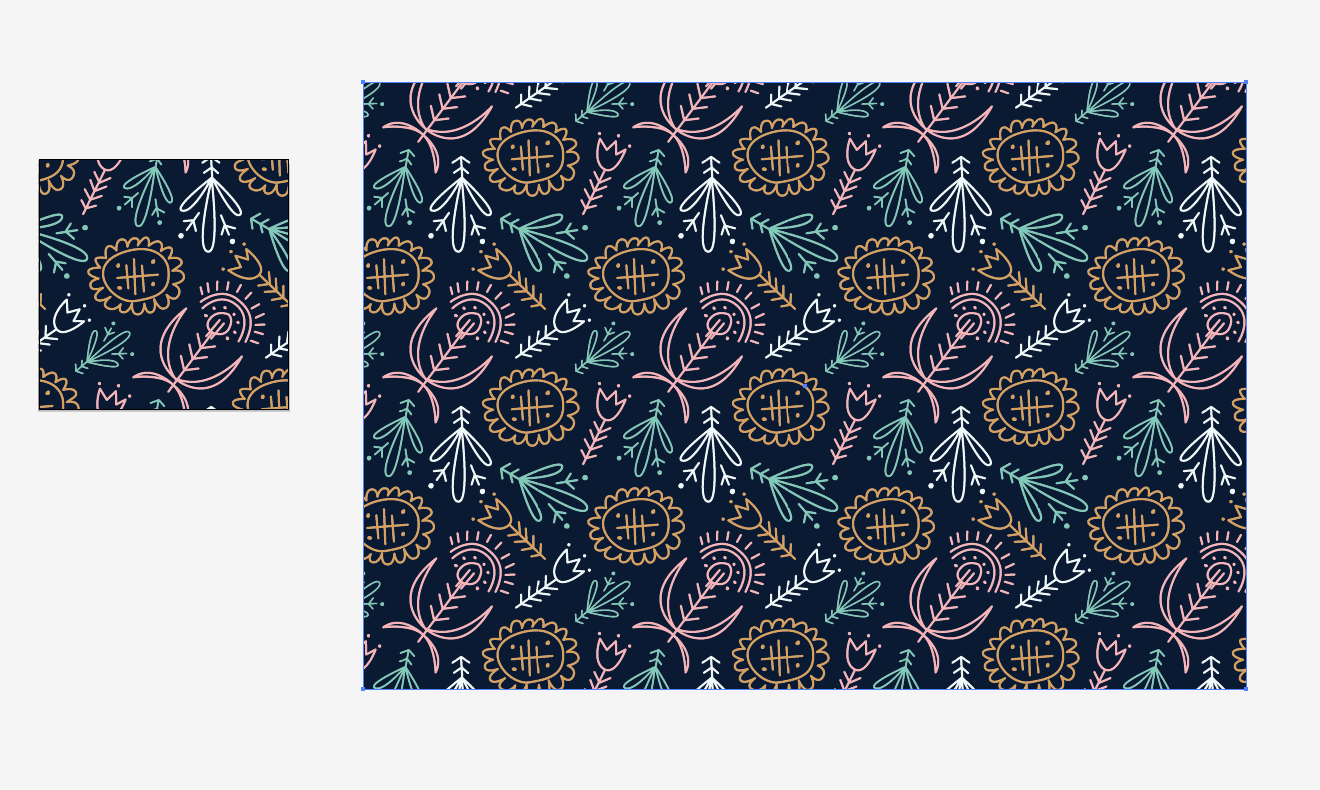
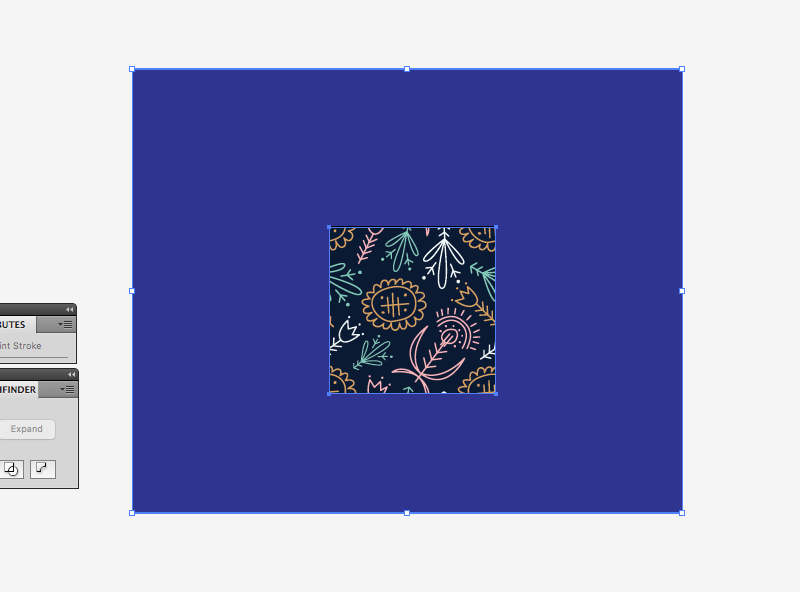
11. Drag it into the swatches palette.
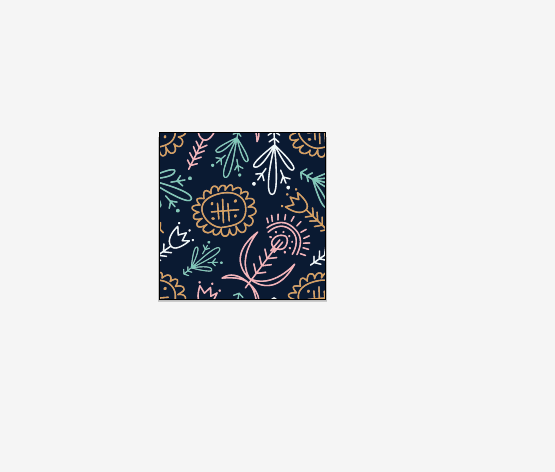
I make a copy of the Merged layer, and name it “Repeat”. On this layer I grab my cute little swatch and drag it into the swatches palette. Now you’re in business! To test it, simply make a big rectangle (or circle or square, or whatever you want) and fill it with your swatch. Hooray, you did it!
So what are you waiting for? Take Courtney’s step-by-step to make an awesome pattern of your own!
Be sure to check out Courtney’s website and follow her on Instagram for daily pattern illustration.
Posts you might like

One of the best things about graphic design is that it never stands still for a moment. But that does mean that keeping up with...

The best graphic design books can take you on an exciting journey of the imagination, transport you to new creative worlds or...
We’ve all been feeling the squeeze over the past few years, but at Shillington we don’t want this to stop anyone getting the...

Are you considering becoming a graphic designer but want to be working online? With the increasing demand for digital design...

To ensure Shillington's commitment to the LGBTQ+ community extends beyond Pride Month, we’ve collated a list of incredible...
Are you looking to teach yourself graphic design? If so, you may be wondering if it is possible. The answer is yes—it can...

Are you interested in becoming a graphic designer but don't know where to start? You may be wondering if it's possible to...

Are you considering changing your career, but don't know where to start? Are you an aspiring creative with a passion for...
Want to win some amazing prizes and stay in the loop with all things Shillington? Sign up to our newsletter to automatically go in the draw.